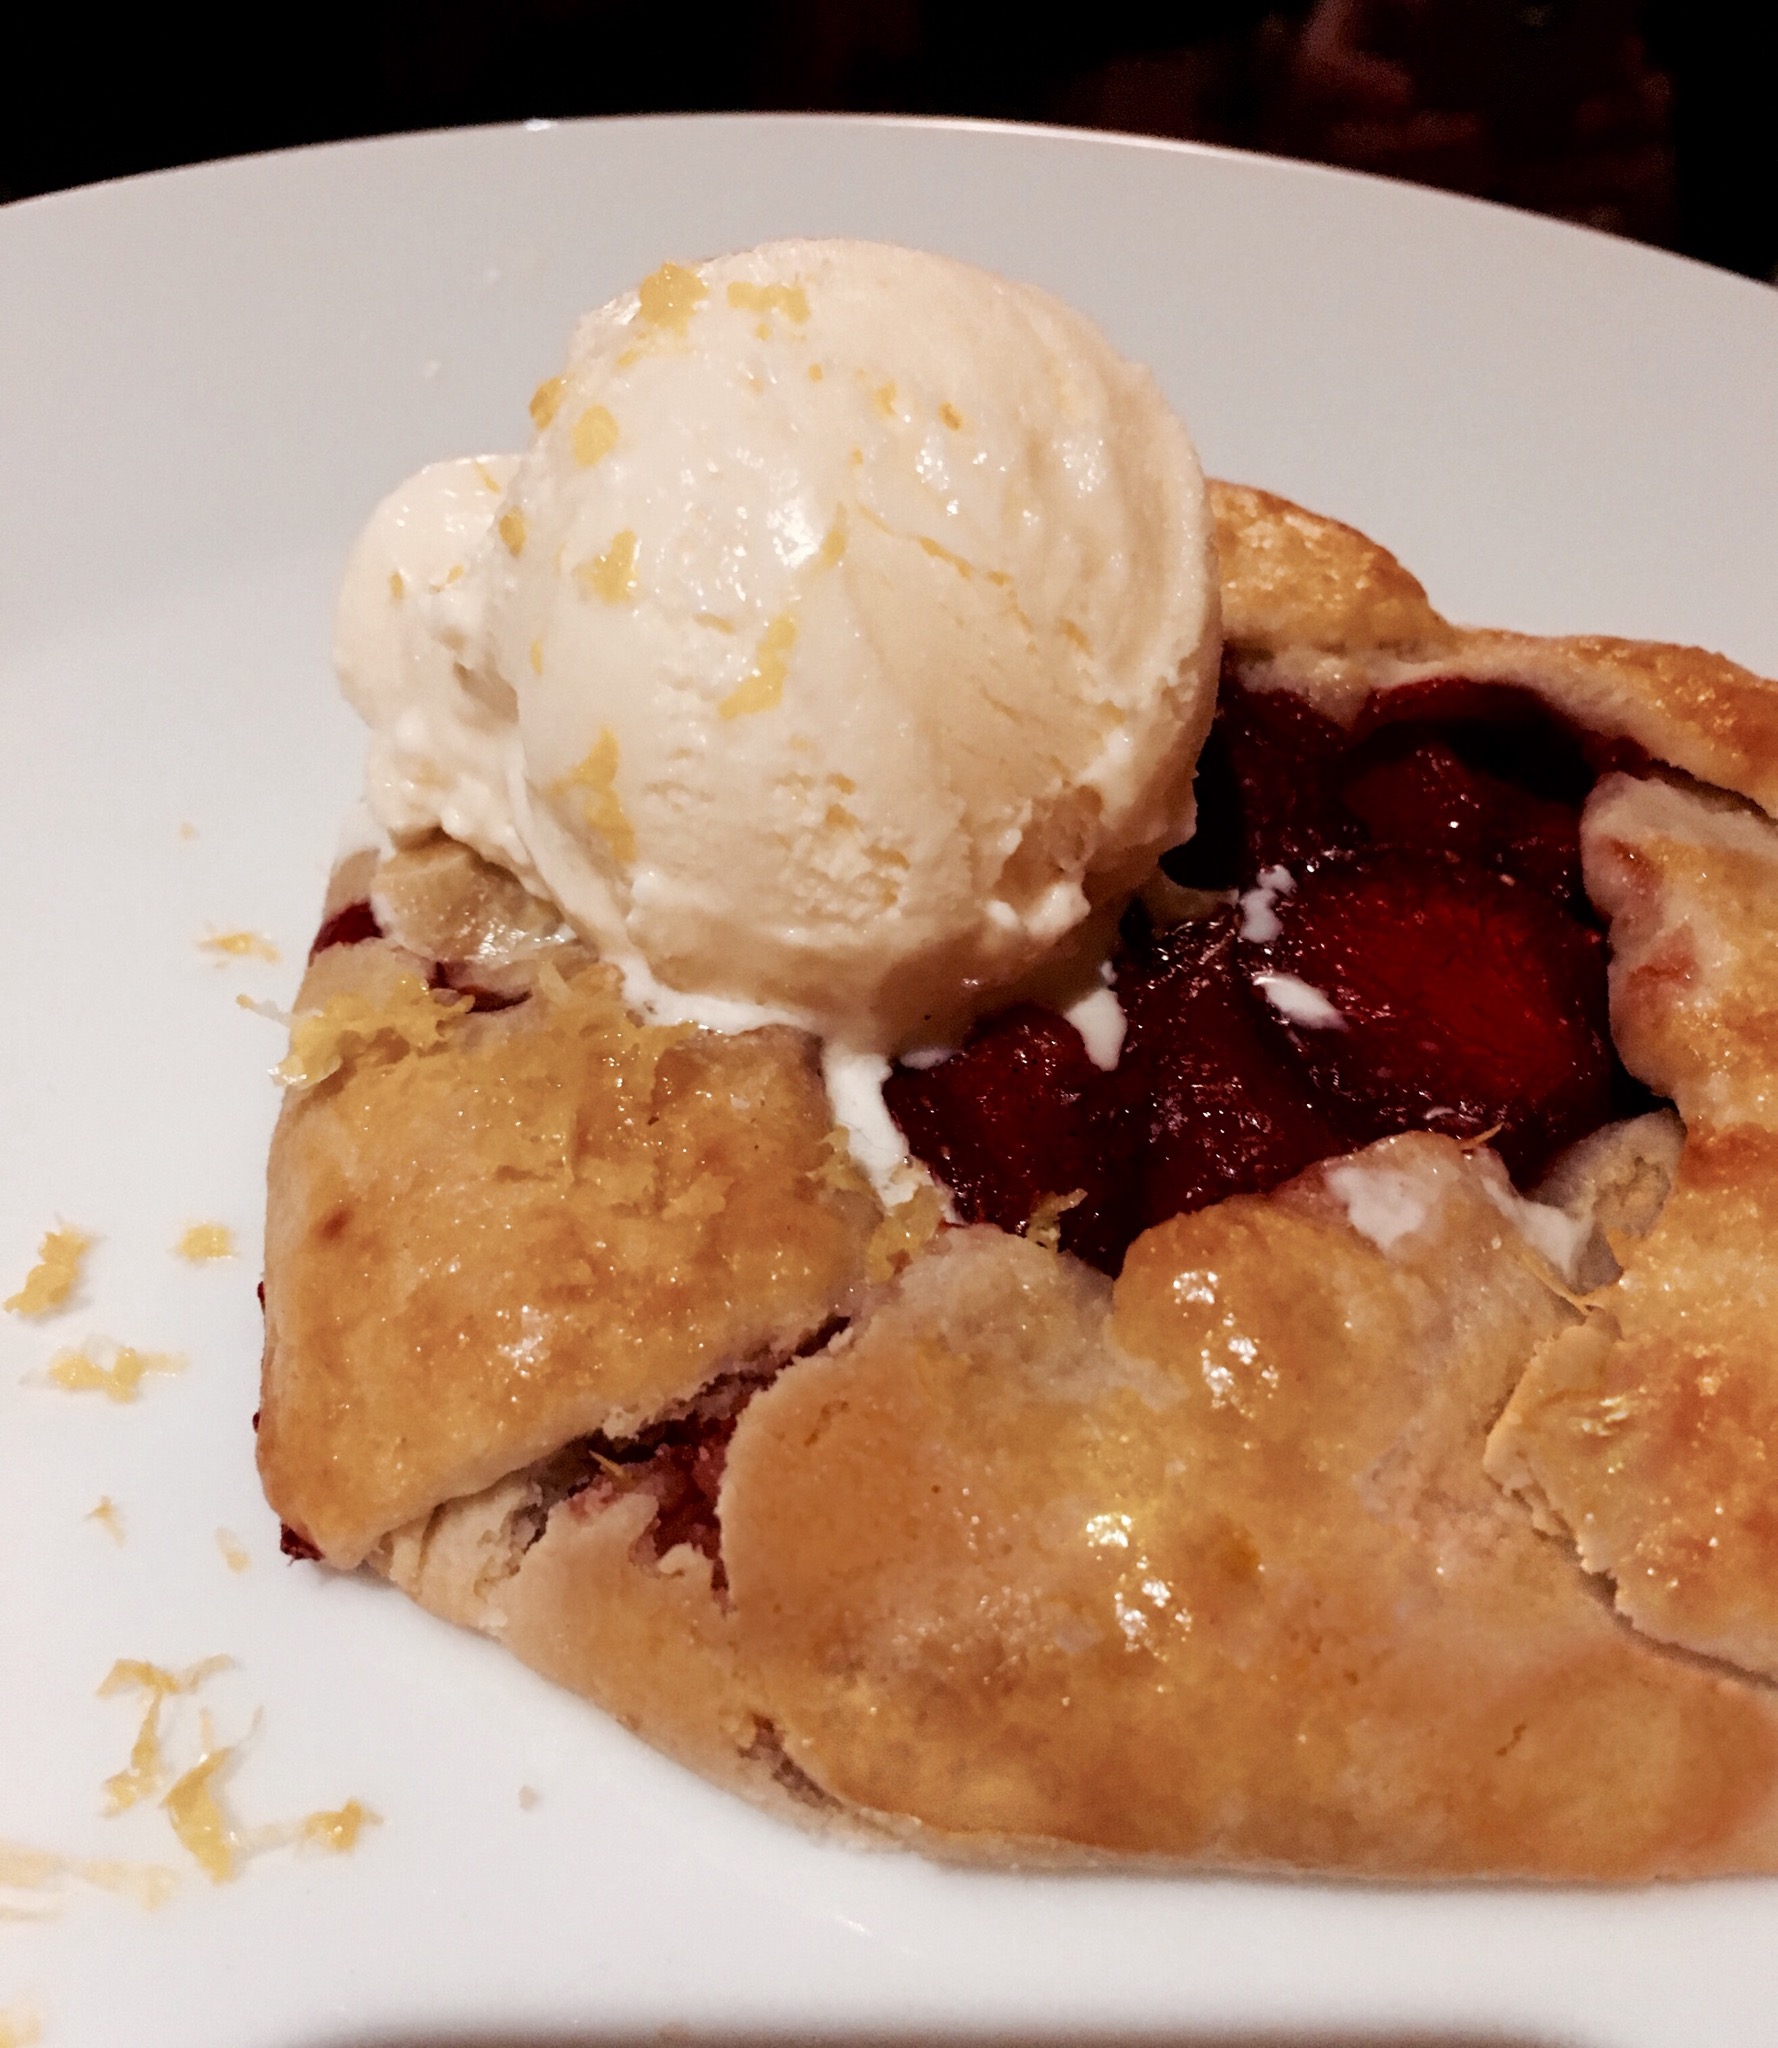
What’s not to like? Chocolate. Kentucky bourbon. That makes magic in my book. The only question that remains is: one scoop or two?
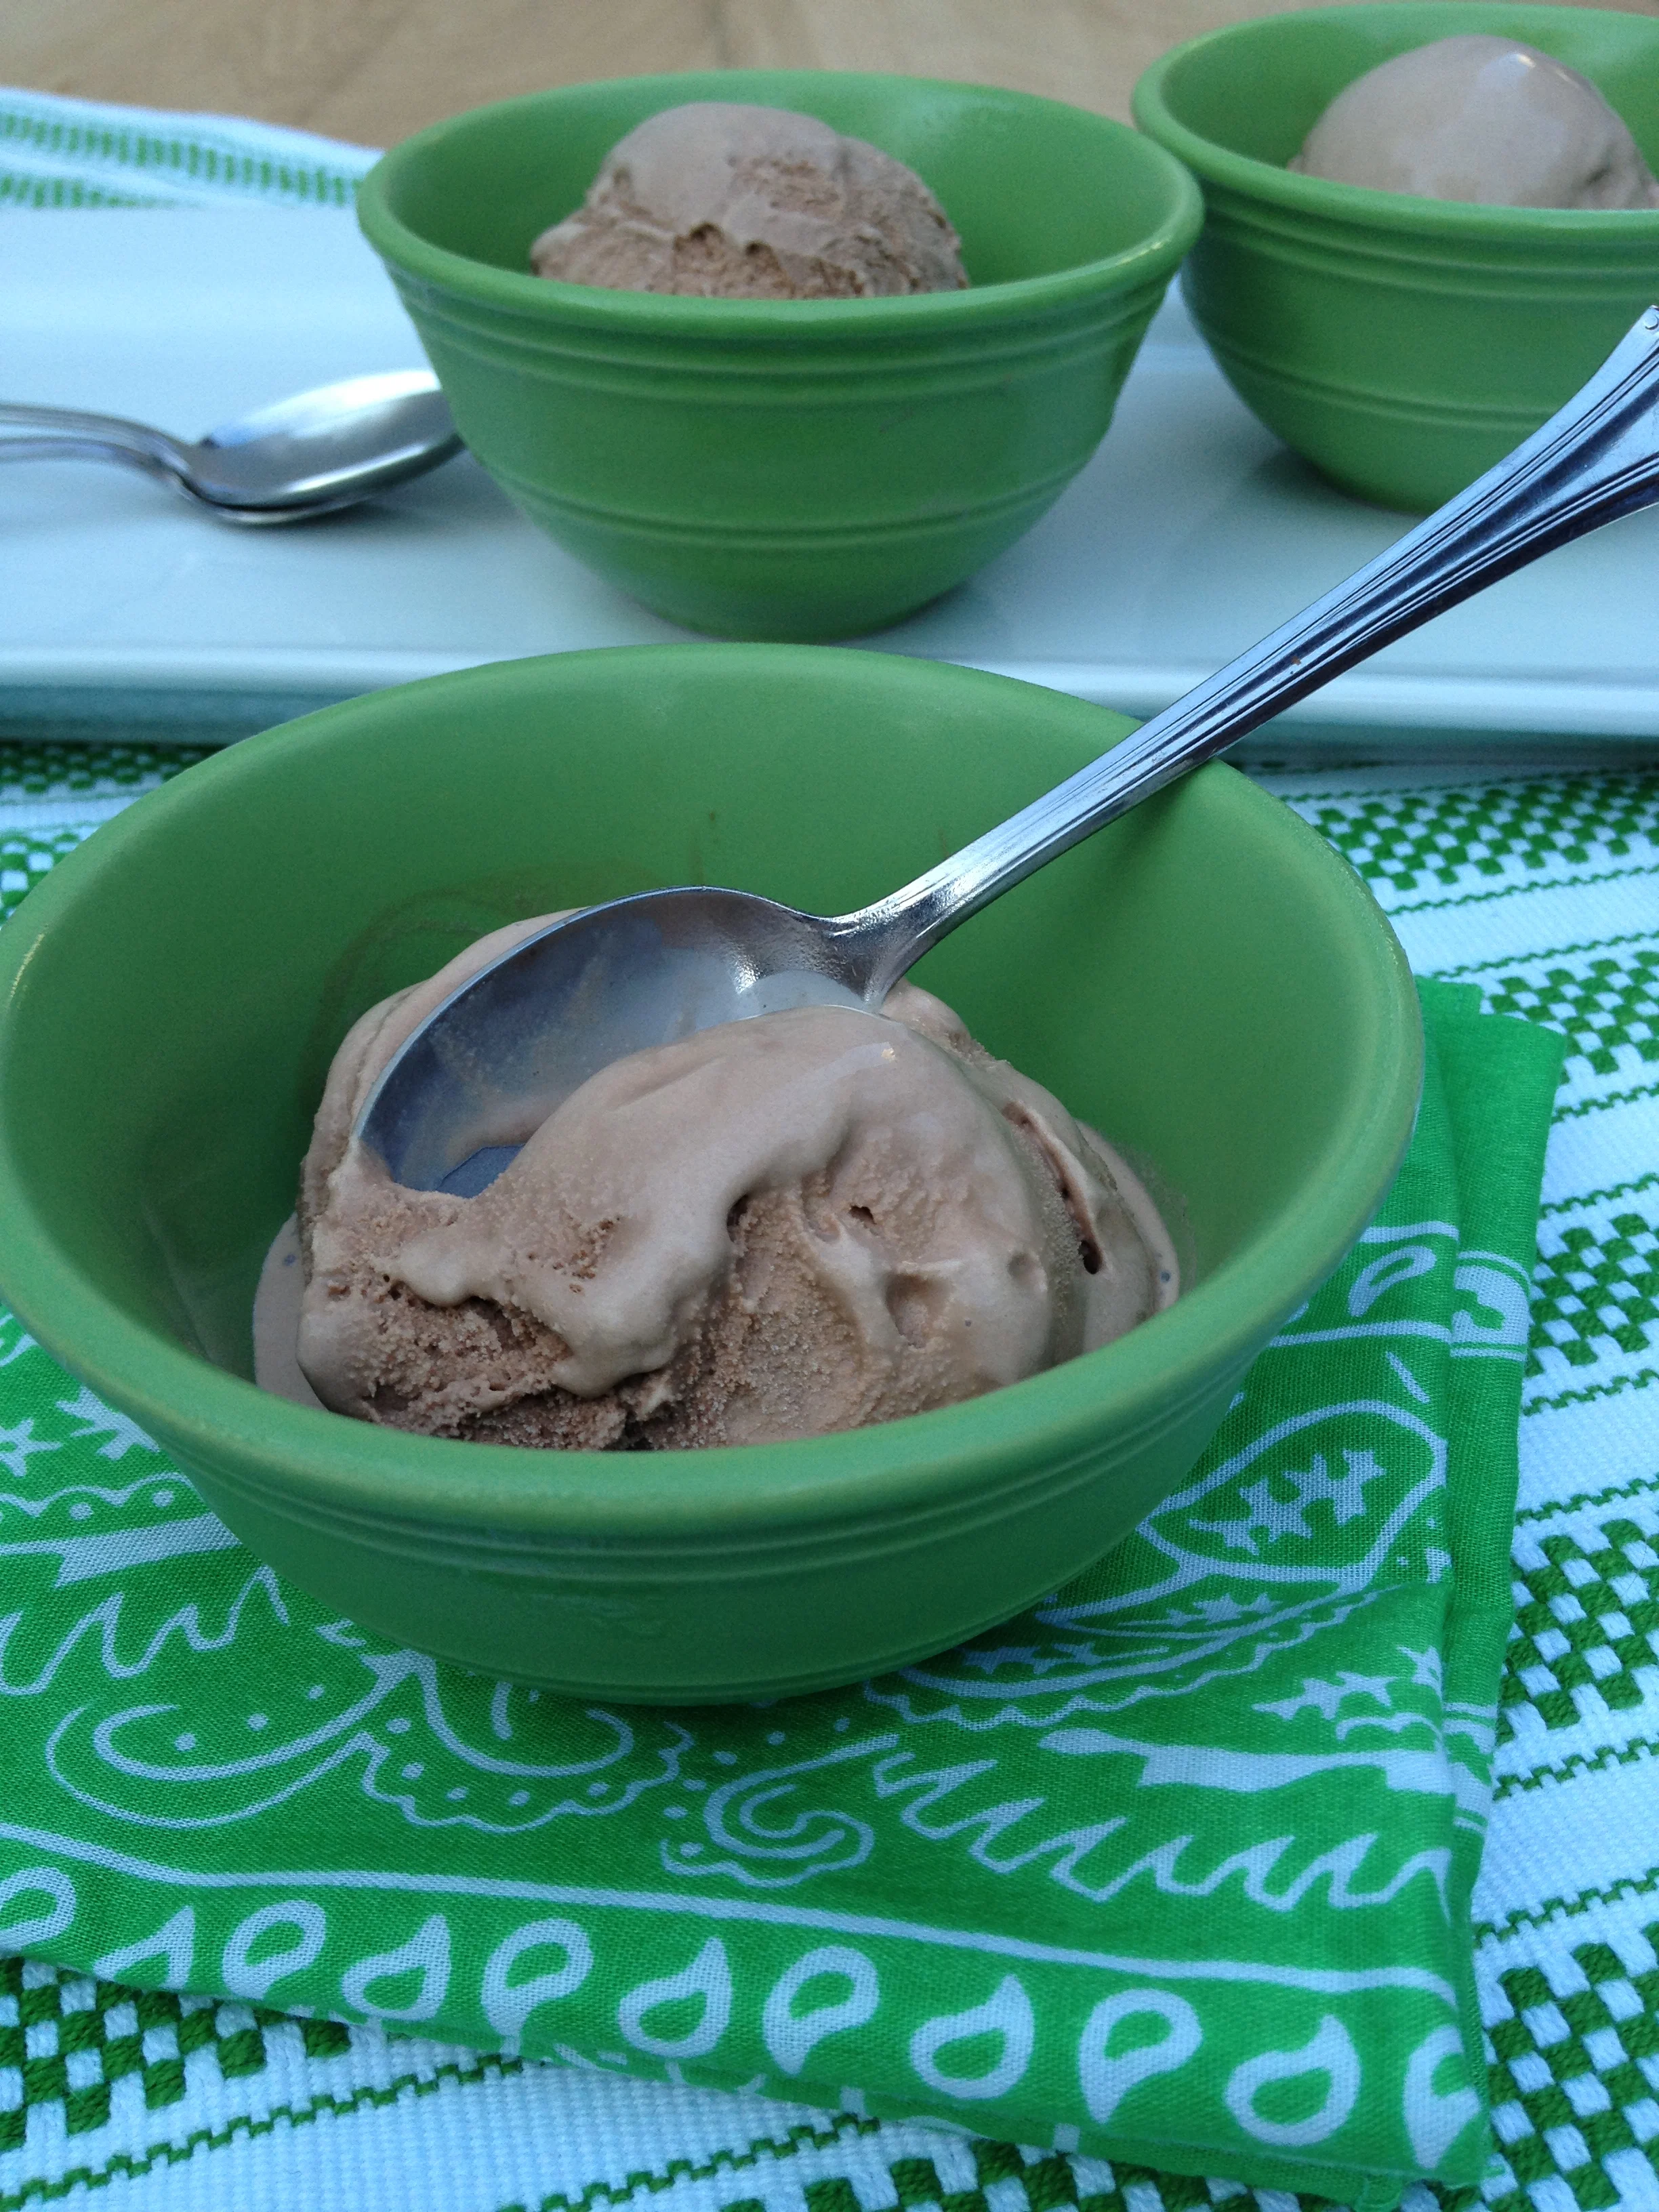
HOMEMADE CHOCOLATE BOURBON ICE CREAM
Prep Time: 20 minutes plus 4 hours chill time and spin time
Cook Time: 25 minutes
INGREDIENTS
2 cups whole milk
2 cups heavy cream
1 cup granulated sugar
Pinch fine salt
7 large egg yolks
1 teaspoon pure vanilla extract
4 ounces quality semi-sweet chocolate, chopped
2 ounces bittersweet chocolate, chopped
1/2 cup Kentucky bourbon (optional)
DIRECTIONS:
Prepare an ice bath in a large heat-proof bowl. Have a large fine mesh sieve or strainer ready.
Add the milk and cream to a heavy saucepan. Heat over medium heat until little bubbles start to form around the edges but do not let it come to a boil. Remove from heat. Set aside.
In a medium bowl of your mixer using the whisk attachment, whisk the egg yolks with sugar and salt until they are thick and pale yellow. With the mixer on low, very slowly add a cup of the hot milk to the eggs to temper them, adding a little at a time. Whisk the egg mixture into the remaining milk in the saucepan. Cook over medium low heat, stirring constantly until the custard thickens enough to coat back of a wooden spoon. (You will know it is done if you use your finger to draw a line down the back of the spoon and it holds.) This will be around 160 degrees if you are using a thermometer. Do not let the mixture boil. (If it goes over 180 degrees F, it will likely curdle.)
Add the chopped chocolate to a large, fine mesh sieve. Strain hot custard through the sieve into large heat-proof bowl placed over the ice bath; the chocolate will melt as you strain it. Add the vanilla and bourbon. Stir the custard until cooled. Taste. Add additional salt or vanilla as desired. Cover and refrigerate until thoroughly chilled; up to 24 hours before freezing. Freeze according to manufacturer instructions. Serve as soft serve or remove from your machine to a freezer-safe container and freeze until hard, about 5 hours.