"In the bowl of your mixer, cream the butter and the sugar together."
On Wednesday, over 25,000 people saw, shared, printed, or looked at my mom's pound cake recipe as a result of my posts on social media for National Pound Cake Day. I saw your comments about a mom, an aunt, or even a granddaddy's recipe that you make and even though you lost them, the recipe is like having a little piece of them still with you. All these years later, I still remember the food my mother made for us and the times I spent with her in the kitchen. That pound cake brings back so many memories and I'm so thankful to have the recipe. It was almost lost forever... read the story about how I got it back. It's a good one. GET THE RECIPE...

My mom made a pound cake about once a week. The cake was so dense, I can remember mom testing it with a piece of uncooked spaghetti instead of a toothpick to see if it was done.
I've mentioned many times how heartbroken I am that I do not have more of my mom's recipes down on paper. The few I do have in her handwriting are so prized, so cherished.
So now, I'm going to get on my soapbox. If your mom is a "pinch of this" cook who rarely writes down her recipes... this is for you.
Please take the time to have her show you how to make your favorite recipes. Have her write the recipes out in her handwriting if she still can, and talk you through them. Video her, if she's willing because often, the technique is as important as the ingredients themselves. It has taken me years to recreate some of my mother's dishes and have them taste the same.... Her pot roast took me almost 10 years to master, even though I was using the exact same Dutch oven. I was leaving out the bay leaf and that one little thing made all the difference.

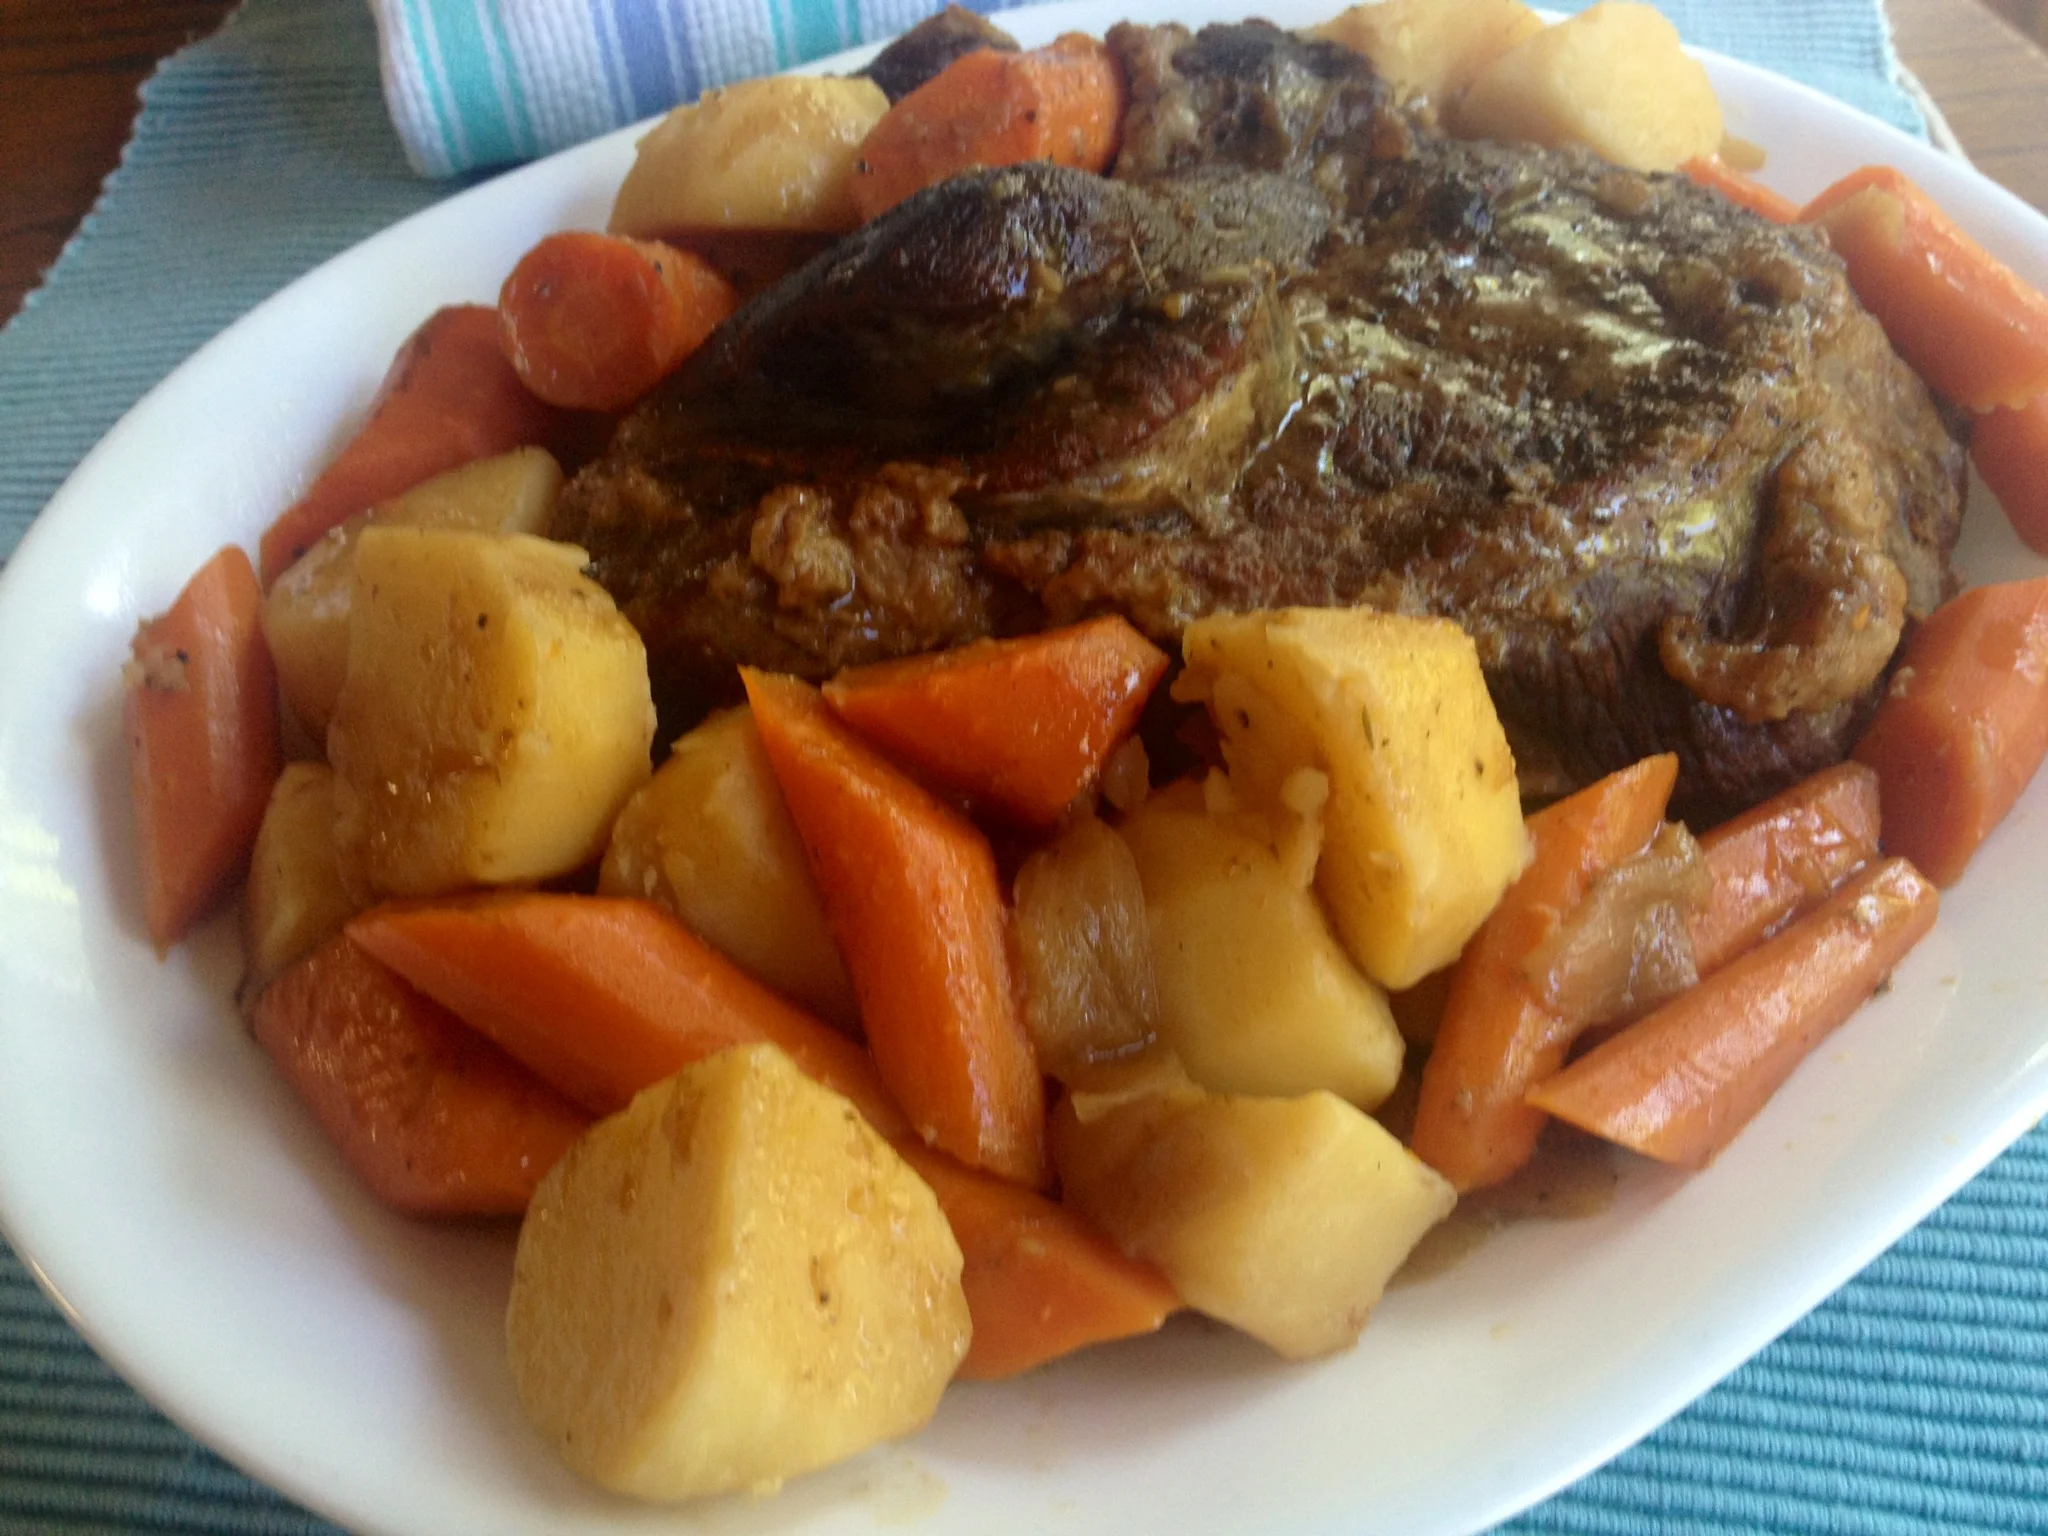
Sunday Pot Roast after church was a standard at our house but my mom never wrote down the recipe. It took me 10 years after she passed away to recreate it and have it taste exactly the same as I remember.
Every bite of that pot roast reminds me of Sunday dinner after church and how my mom always had a plate warming on the stove (and a slice of lemon icebox pie hidden away in the refrigerator) for me if I was late. There will be a time when it is too late to get your cherished recipes down and you will never regret the time you spent with them in the kitchen.
FYI- Copy your originals because ink will fade. I pressed mine in a book with archival paper. I plan to frame large copies one of these days for my studio.
Much love,
Martie xo